
Close Menu
    Facebook X (Twitter) Instagram
    Woodwork InsightsWoodwork Insights
    • Home
    • Hubs
      • Floor Repair
      • Furniture Repair
      • Scratches & Surface Fixes
      • Water Damage & Stains
      • Rot & Outdoor Wood
      • Doors & Windows
      • Start Here
    • About
      • About
      • Contact
      • Privacy Policy
    Home»Repairing Wood»Hole in a Stained Wood Door: How to Match Color Perfectly
    Repairing Wood

    Hole in a Stained Wood Door: How to Match Color Perfectly

    Evan MarkhamBy Evan MarkhamJuly 1, 2026Updated:October 8, 2026No Comments1 Min Read
    Facebook Twitter LinkedIn WhatsApp Email
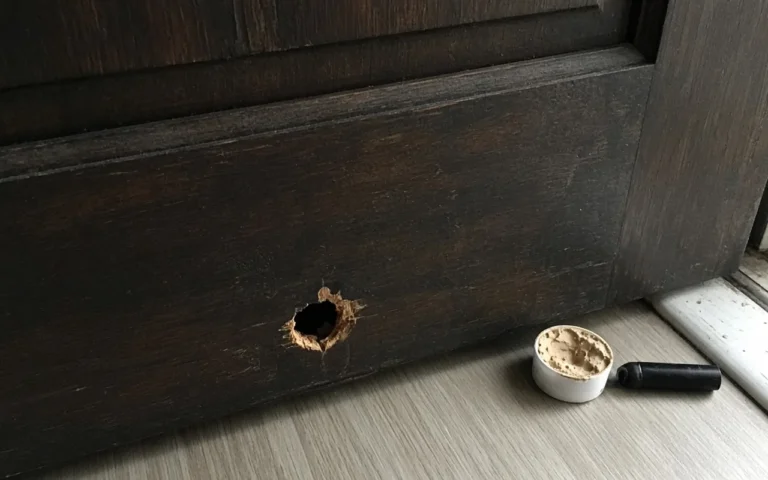
    Small splintered hole near the bottom of a dark-stained wood door with filler beside it
    Share
    Facebook Twitter LinkedIn WhatsApp Email

    Matching stain on a patched door is the hard part. Get the wood level first, then build color in thin layers until it sits next to the original under the same light.

    Prep the patch

    Fill or Dutchman-patch the hole, sand flush, and remove dust. Any proud filler will telegraph through stain.

    Test colors

    Use scrap of similar species or the door edge. Gel stains and dye stains behave differently; dyes often hit grain harder. Wipe samples and let them dry before judging.

    Layer to match

    Apply light coats, blending outward. Grain markers can redraw rays or pores across a filler patch. Seal with the same topcoat sheen as the door—satin next to gloss will always show.

    When to refinish the whole side

    If the door has uneven UV fade, a full strip and restain of that face often looks better than a perfect island of new color.

    For more repairs like this, start in the Doors & Windows hub. If you are working through a related problem next, see How to Properly Sand Down a Wood Door: Professional Tips or Hole in a Wood Door: Simple Patching and Refinishing Guide.

    Evan Markham
    Written by

    Evan Markham

    I'm Evan. I write Woodwork Insights for people who'd rather fix a scratched table or a lifted floorboard than replace it. My guides stick to repairs a careful homeowner can do with ordinary tools, and I'll say plainly when a job needs a pro.

    Share. Facebook Twitter LinkedIn WhatsApp Email
    Evan Markham
    Evan Markham
    • Website

    I'm Evan. I write Woodwork Insights for people who'd rather fix a scratched table or a lifted floorboard than replace it. My guides stick to repairs a careful homeowner can do with ordinary tools, and I'll say plainly when a job needs a pro.

    Related Posts

    Stains on Wood Furniture: Fast and Easy Removal Strategies

    July 1, 2026

    How to Fix Wood Veneer (Pro Tips for Peeling and Bubbles)

    July 1, 2026

    Nail Polish Stain on Wood: Professional Level Removal and Refinishing

    July 1, 2026

    Fix Wood Scuffs: Professional Cobbler Secrets for Lasting Results

    July 1, 2026

    How to Fix Scratches on a Wood Table

    July 1, 2026

    Wood Bed Post Repair: Simple Fixing and Strengthening Techniques

    July 1, 2026
    Add A Comment
    Leave A Reply Cancel Reply

    Type above and press Enter to search. Press Esc to cancel.

    Woodwork Insights

    Practical guides for repairing and restoring wood floors, furniture, and outdoor wood at home.

    [email protected]

    Explore

    • Floor Repair
    • Furniture Repair
    • Scratches & Surface Fixes
    • Water Damage & Stains
    • Rot & Outdoor Wood
    • Doors & Windows
    • Start Here

    About this site

    • About
    • Contact
    • Privacy Policy
    • Affiliate Disclosure
    • Editorial Guidelines
    • Evan Markham
    © 2026 Woodwork Insights. All rights reserved.